How to Get a Closed Circle Bullet Style in Word
Learn how to choose or restore a closed circle bullet style in Word using the Bullet Library or Define New Bullet, and fix open-circle bullets.
If you want a closed circle bullet style in Word, meaning a filled circle as your bullet marker in Microsoft Word, the answer lies within its Bullets library.
The most common way of adding a list in Word is via a series of bullets — the small black or white circle that precedes a line. But if you’d like a closed circle, however, you’ll need to choose one of two options within the Bullets library: either the standard bullet, which is U+2022 BULLET, or the large-filled black circle, which is U+25CF BLACK CIRCLE.
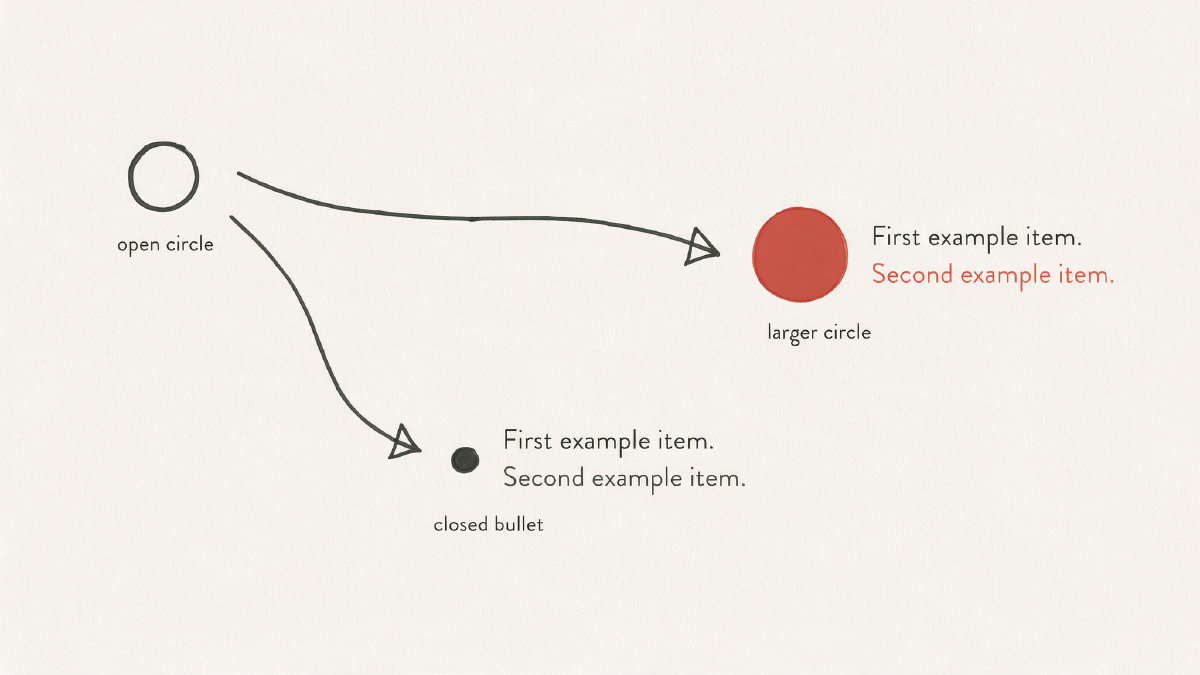
But before we get into those choices, let’s look at how to apply the style. To change an existing list to use a filled round style, simply select one of the bullets in the list, and Word will select that bullet level. Clicking the arrow in the Paragraph group of the Home tab opens the Bullets menu, then clicking on the Bullet Library reveals a list of available bullets for your document. Selecting one should be sufficient, but if you want more than that, read on.
Alternatively, you can define the bullet manually, using the symbol libraries in Word to assign any particular symbol that you might want to appear instead of the default bullet. It also allows you to set up font choices separately from your list text, so that you can make the bullet bold or larger than your regular text. That’s all good news.
Word has evolved with Unicode over time, too. The standard small bullet (U+2022) remains the default for ordinary lists, but the larger U+25CF BLACK CIRCLE may also be used. You can find out what each does, below.
But if you are not getting filled circles, there are possible workarounds. And if you’re not seeing them in your list, then the problem may lie in font substitution, encoding or some other symbol assignment error. In general, though, the fix is pretty straightforward.
All this is true only for desktop Word versions; Word for the web app doesn’t offer these advanced options. However, you can always just download a PDF and print it off using your own printer if you prefer a printed copy of the document.
Using the Bullets Library
You probably already know that the easiest way to insert a list is by pressing Enter after selecting a block of text. Then, when you press Enter, you can add another entry to the list, without worrying about formatting. When done, you can click the arrow beside the paragraph icon in the Home tab, and choose the type of bullets that you want to appear. That’s where things begin to differ from the web app.
To change an existing list to use a filled round style, simply select one of the bullets in the list, and Word will select that bullet level. Clicking the arrow in the Paragraph group of the Home tab opens the Bullets menu, then clicking on the Bullet Library reveals a list of available bullets for your document. Selecting one should be sufficient, but if you want more than that, read on.
Manually Defining a Document Bullet
Word gives you an option to define a new bullet. Simply click the arrow again and choose “Define New Bullet.” Here, you’ll find several different symbols that can serve as your bullet markers. Choosing one selects the character; you’ll still need to confirm it in the Define New Bullet dialog box.
In addition to choosing the actual symbol, you can check its preview. Once you’ve selected it, just click OK. This action will apply the new choice to the selected text, bulleted list, or selected bullet level.
Unicode Characters: • vs ●
When it comes to Unicode characters, there’s the standard small bullet and the large-filled black circle, as shown here:
• U+2022 BULLET
● U+25CF BLACK CIRCLE
For the most part, they behave like any other ordinary list marker. But depending on what you’re doing, you may want to consider a stronger, deliberately stronger marker.
Customizing Your Bullets
Within the Define New Bullet dialog box, there are several controls that allow you to customize the appearance of your bullet points. There is a Font selection, which controls how your bullets appear, as well as their style, size and color. But the latter settings are available to you once you’ve selected your bullets, rather than to your list text itself.
If you are not seeing filled circles, you’ll probably need to go through the trouble of defining your bullets manually. You could even reselect the bullets, or test your document in a new document to verify.
Recovery Options
There’s a number of ways that you can recover from problems. One possibility is restoring your font settings to default. Alternatively, clear the font cache only if older troubleshooting techniques fail. Resetting the list gallery, too, can help resolve some issues.
Ultimately, you’ll need to reset your font preferences and try a few simple troubleshooting techniques.
Reusing a Defined Bullet
It’s possible that you defined a new bullet to solve the problem in your received or current document. But if you want to reuse it in other documents, open the Bullets menu, find it under Document Bullets, right-click it, and choose Add to Library. Otherwise, it stays tied to that received or current document.
Advanced List Customization
If you’re looking for an easy way to make your list appear just right, you may prefer a PDF file, which you can print out and send to your printer. But if you really want to customize your bullet points, you’ll have to rely on the desktop version of Word.